Custom model by: kuzzzma
Difficulty / Сложность: ★★☆☆☆ (2/5)
Paper / Бумага: 120gsm or higher
Time / Время: 1 hour / час
Background picture: vector created by macrovector @freepik.com
Notes: Оригинальная выкройка от Paperized претерпела серьезные изменения – добавились элементы, были переделана логика склейки.
Links: A03 | Tumblr post | Twitter post | VK post
Reposting of PDF is forbidden and please link to this post, not to PDF file directly.
This work is licenced with Creative Commons: Attribution-NonCommercial-ShareAlike.
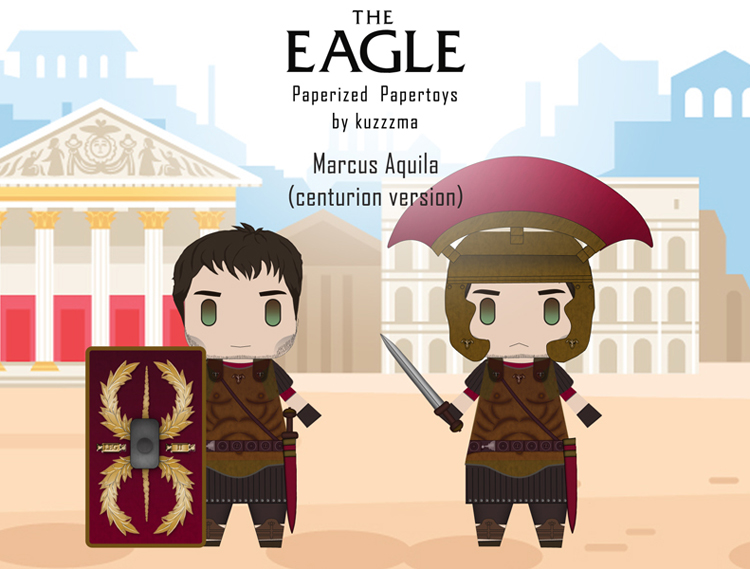
Marcus Aquila (centurion version)
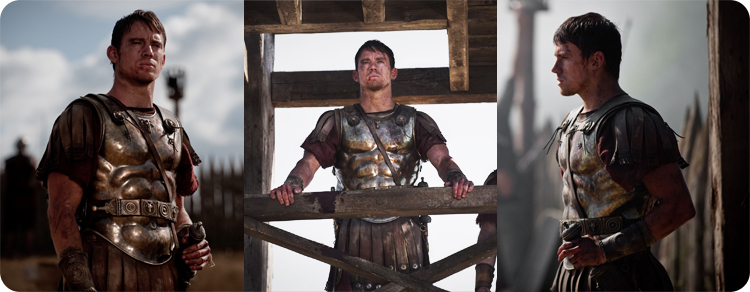
Маркус Аквила – персонаж книги “Орел Девятого Легиона” и ее экранизации The Eagle (2011). Эта бумажная фигурка берет за основу образ Маркуса-центуриона, созданный в фильме Чаннингом Татумом.
Marcus Aquila is a character from “Eagle of the Ninth” book and “The Eagle”, it’s 2011 film adaptation. This papertoy shows Marcus in his centurion days (with removable helmet) and is based on his portrayal by Channing Tatum.
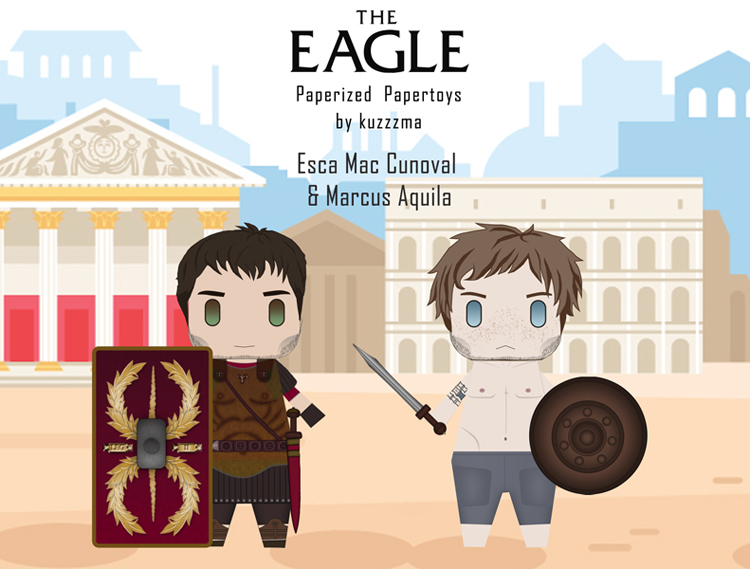
Marcus Aquila and Esca Mac Cunoval
Marcus Aquila (centurion version) papertoy

Marcus Aquila – papertoy template preview
Download PDF:
Фото


Photo album: more photos of Marcus Aquila papertoy assembled.
If you build it – send me an e-mail, link back in comments, tag me on twitter (@kuzzzma) or in instagram (@kuzzzma_papercraft)! I love to see photos!
How-to build:
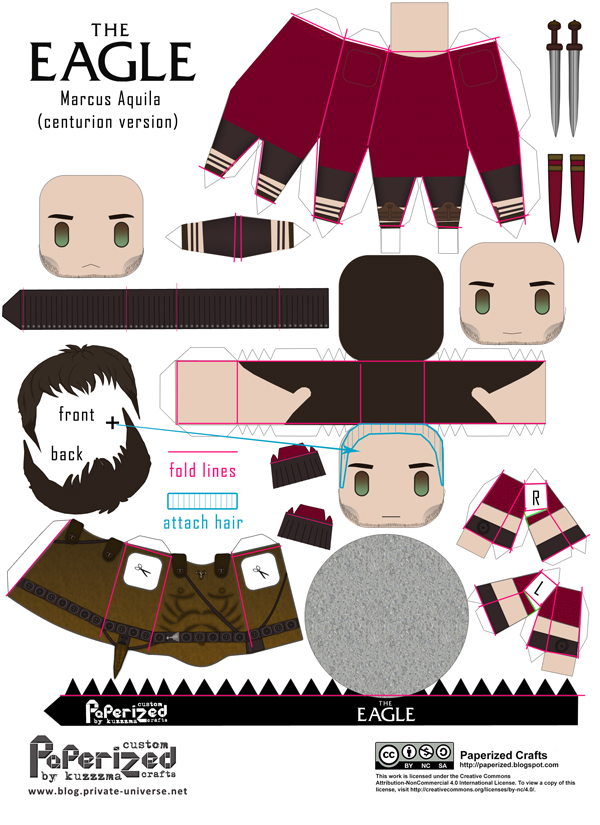
Marcus Aquila – линии сгиба
Русский
- Распечатываем выкройку бумажной фигурки на листе A4.
Можно использовать обычную офисную бумагу, но для лучшей сохранности я предпочитаю более плотную: плотную матовую, толщиной от 120gsm. -
Клей: для пейперкрафта обычно советуют клей на основе ПВА, но в последнее время найти хороший ПВА клей стало сложно (они просто не клеят!). Подойдет и обычный прозрачный канцелярский. Клей в стиках не подойдет – детали слишком мелкие. Я предпочитаю наносить клей зубочисткой – удобно, аккуратно и никакой уборки после.
- Намечаем линии сгиба на неразрезанном листе (см. картинку сверху) – это можно сделать непишушей ручкой, спицей, другим инструментом, который не порвет бумагу.
- Вырезаем все детали.
- Сгибаем детали по всем намеченным линиям.
- Склеиваем голову, откладываем.
- Приклеиваем обе части волос. Обрезаем лишнее – деталь задника волос сознательно сделана чуть шире, чтобы дать пространство для маневра при склейке.
- Склеиваем основное тело.
Дополнительная деталь вклеивается последней и закрывает собой дырку в тушке между ног. Вклеивать ее не очень удобно (издержки дизайна), я пользуюсь пинцетом для удержания детали. Эта деталь НЕОБЯЗАТЕЛЬНА и может не вклеиваться – внешний вид фигурки от этого сильно не пострадает. - Склеиваем подставку.
- Склеиваем шлем.
- Склеиваем щит и прочие аксы.
-
Для более аккуратного вида рекомендую прокрасить все боковые элементы и стыки подходящим по цвету маркером/краской, это скроет белый цвет бумаги и существенно улучшит внешний вид. Если вы используете толстую бумагу – это особенно актуально!
- После того, как все элементы готовы – приступаем к финальной сборке.
- Рекомендуемый порядок сборки:
- Устанавливаем тело на подставку.
- Приклеиваем “юбочку”.
- Приклеиваем “бахрому” в район плеч (см. указаное место на теле).
- Склеиваем доспех и приклеиваем его к шейной части фигурки, бахрома на плечах должна торчать из прорезей для рук.
- Приклеиваем руки к телу (рекомендуемая позиция для рук – 0.5 см от шеи)
- Приклеиваем ножны к доспеху.
- Приклеиваем волосы к лицевой части.
Волосы сверху выступают над головой, поэтому наносите клей ТОЛЬКО по краю лицевой части! - Приклеиваем голову к телу.
- Надеваем шлем.
- Все готово!
ENG
- Print out template (it uses 1 or 2 sheets of A4 paper).
You can use ordinary office paper, but I recommend to go for thicker – matte photo paper, with thickness of 120gsm. -
You can use ordinary clear glue, I recommend applying it with a toothpick.
- Score fold lines on uncut sheets (refer to picture above) – you can use any pointy but blunt tool (knitting needle, pen without ink etc)
- Cut out all the parts.
- Fold parts by pre-scored folding lines.
- Assemble head.
- Glue hair pieces – front to back for, cut out excess – back pieces are a little wider, to allow for some tweaking when glueing them together.
- Assemble body.
My template has an extra part to cover the gap between legs – it can be a pain to glue in (I use pincers to hold this part into place), but this detail is OPTIONAL. You can skip it, and your figure will look fine. - Assemble stand
- Assemble hands.
- Assemble sword and shield.
- Assemble helmet.
- Now we can assemble all the pieces.
- Recommended order:
- Glue body to the stand.
- Glue “skirt” to body.
- Glue shoulder “fringe” details to areas indicated on the body.
- Assemble armour and attach it to body neck area, shoulder “fringe” details shoulв poke through the arm
- Glue in hands (perfect placement – 0.5cm below neck)
- Glue sword sheath to armour.
- Attach hair to the front of the head – keep in mind, that this piece is supposed to stick out a bit, so apply glue only to the very edge of the faceplate.
- Glue head to the body.
- Put his helmet on.
- All done!
Tagged Marcus Aquila, Roman Empire, Channing Tatum, Paperized, centurions, Jamie Bell, creator: my custom, papertoys, Esca Mac Cunoval, The Eagle of the Ninth, The Eagle (2011), papercraft patterns, fandom, papercraft, downloads. Bookmark the permalink.